

So how does it all work, start to finish?
Step One
Once you arrive at the clinic, you will be sat down in the reception area and your desired look will be discussed for the treatment. This is a consultation where we discuss your desired style, colour, shape etc. Whilst we are chatting, you will be numbing the area.

Step Two
Once numb, and the consultation is over, you will be invited into the treatment room where you will lie down on the bed. We will clean up the area, and take pre-treatment photos.
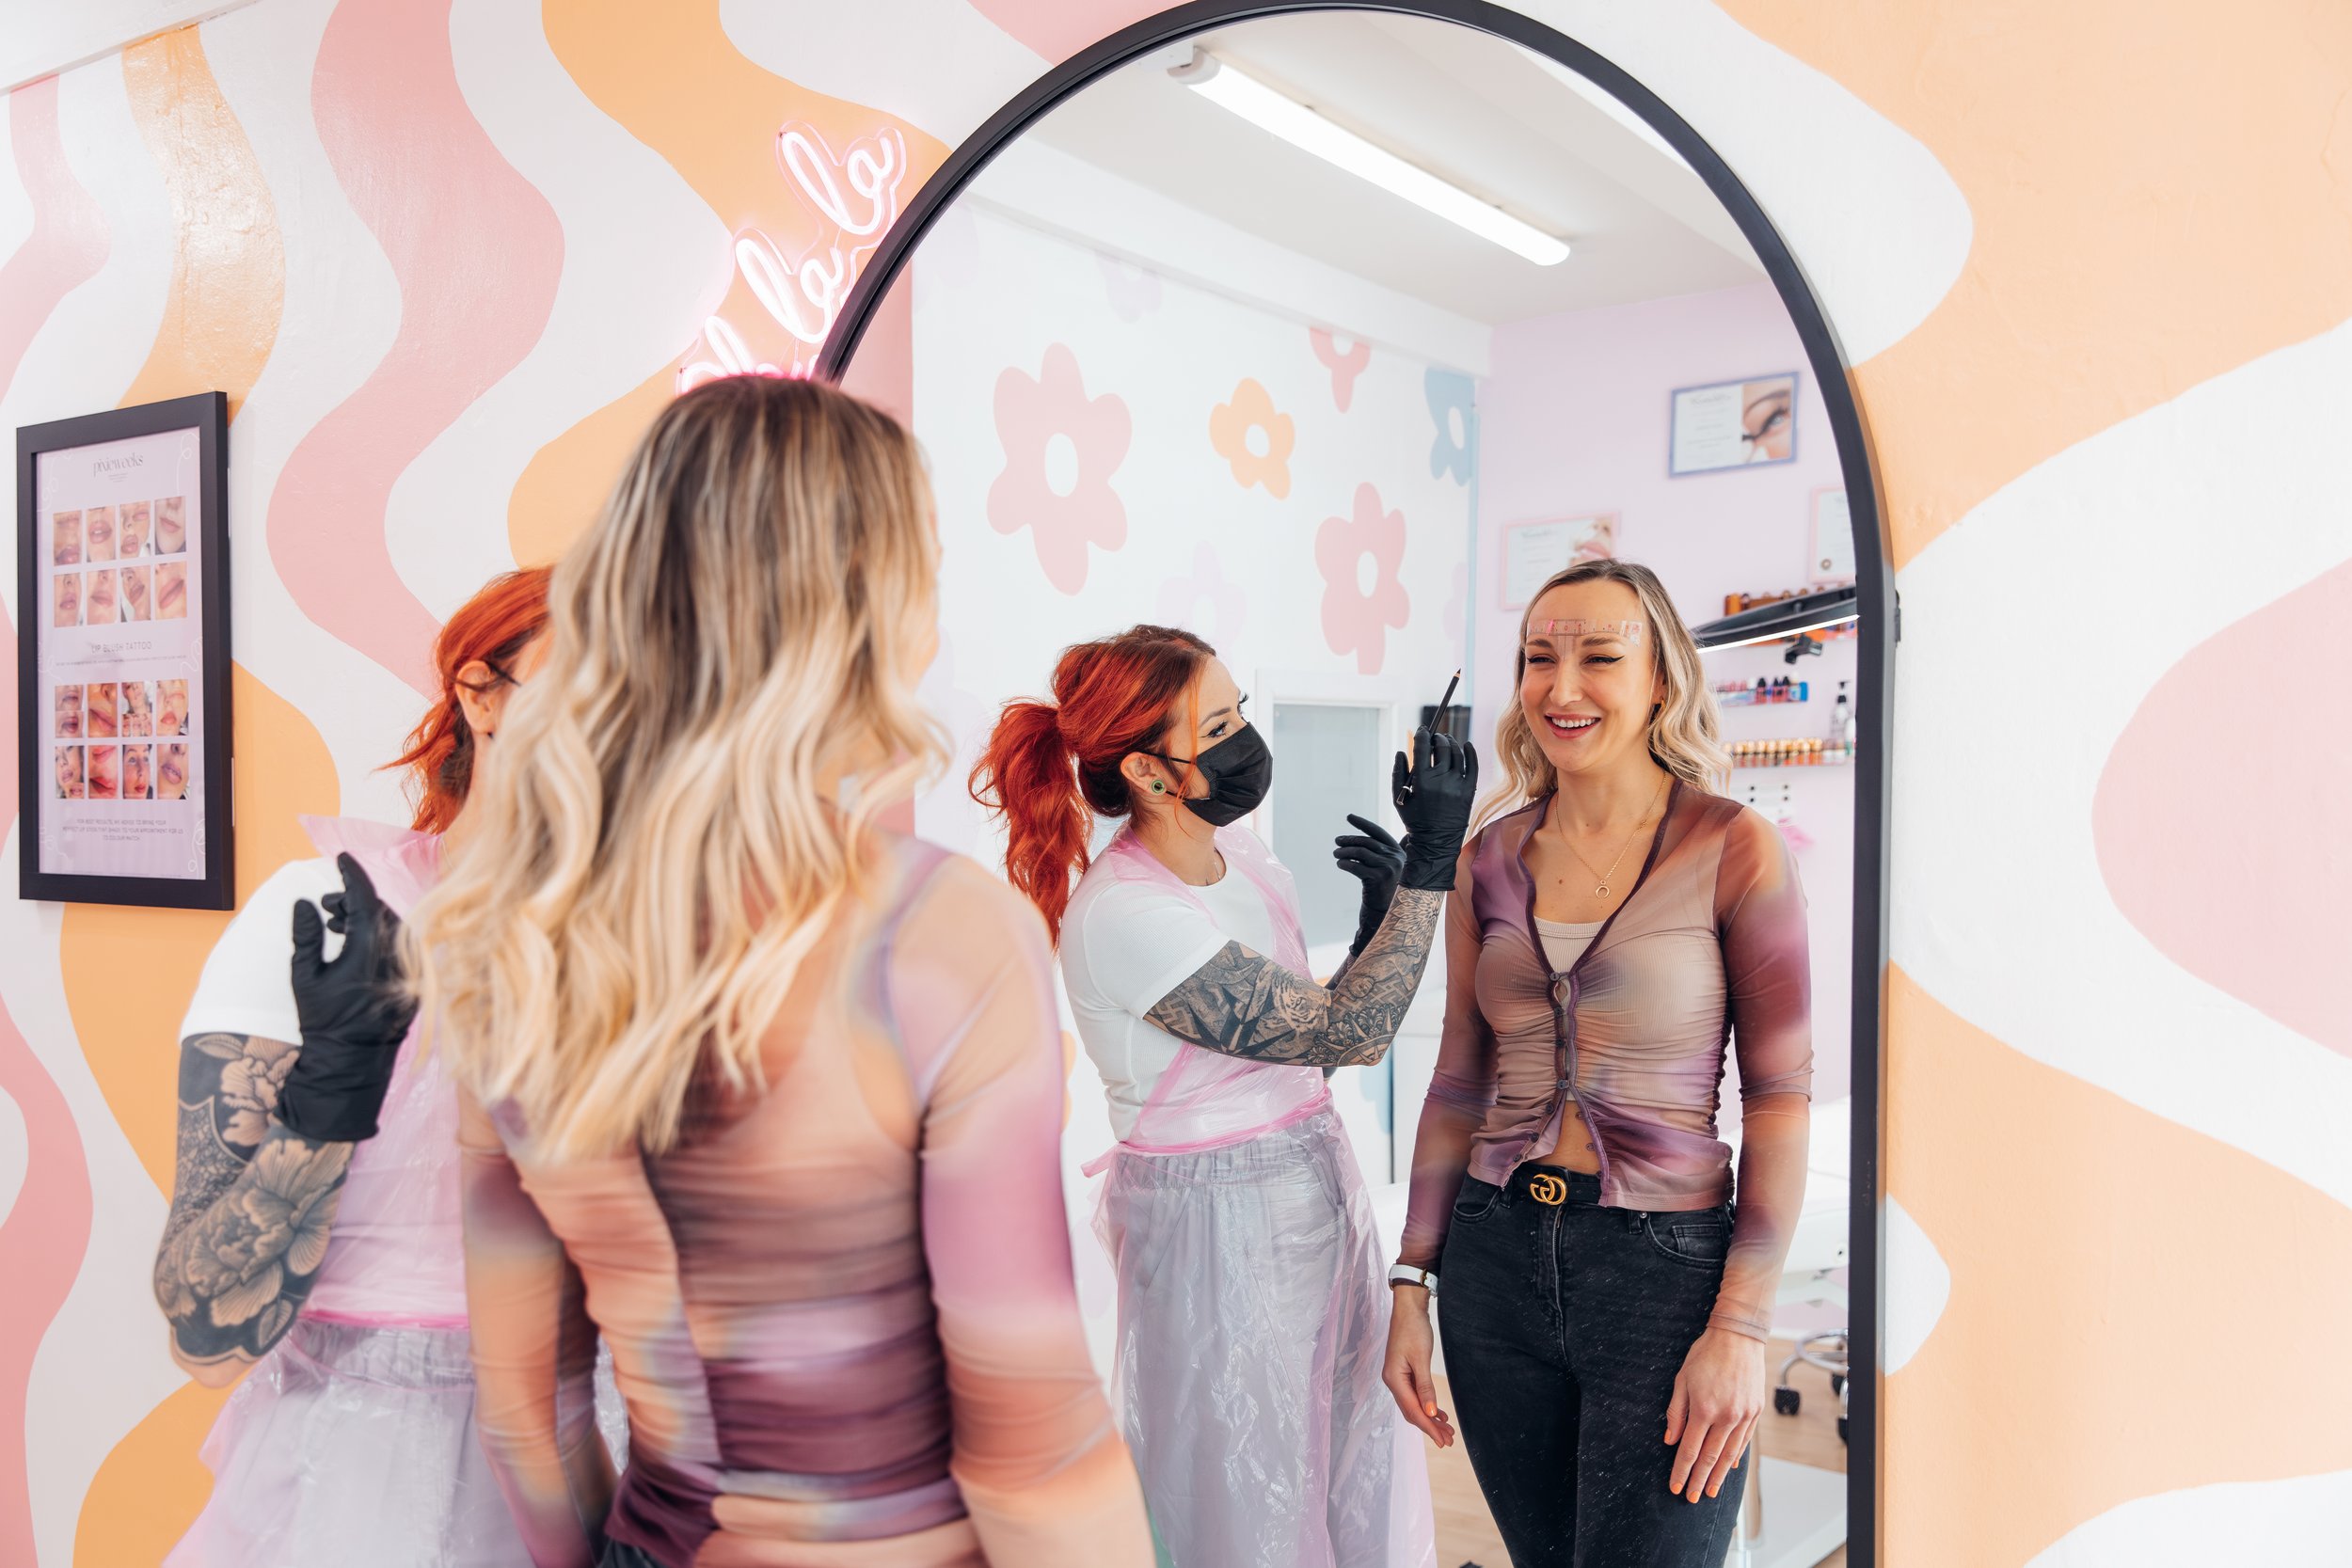
Step Three
After photos, we will then proceed to draw on a ‘template’ drawing. We will draw this design on with a strong colour, irregardless of the chosen colour of the final result. For brows, this will be very dark brown, for lips and areola this will be with bright red pencil. During this stage, you will be shown the template, and we encourage you to make your desired tweaks to ensure this is perfect for you. We start by drawing what WE believe suits you, and then we tweak to your preferred look. We will remove any hair that sits outside the template, but never any that sit INSIDE the template. When we are both happy with this template drawing, we will confirm your chosen colour and then take template drawing photos.
Step Four
Tattooing! We then proceed to tattoo the approved design into the area. This process takes around 1.5 hours and usually consists of around 3 passes on each brow, areola or lip. The first pass secures the template shape, the second gets the bulk of the colour in, and the final pass perfects the design and strengthens any areas needed.

Step Five
The reveal! When we are happy with the result, we will then proceed to show you the final look. Be warned! This will look stronger and more defined than the healed result. With brows, the colour will be darker (by about 2/3 shades of your chosen colour) and more ‘perfect’ looking. For lips and areola, they will be much more red in tone than the healed and chosen colour. Lips will be swollen in size, and this will reduce largely within 24 hours. The strength in colour is temporary and within 2 weeks, you will have faded to your desired colour.

Step Six
Healing… after the tattoo is done, we will discuss in full your expected aftercare procedure to follow. You will also be given an aftercare kit, with instructions in there to read through when home. Over 2 weeks, your treatment will heal into the skin and settle. It’s important to keep the area clean and comfortable. Aftercare advice can be found here. Although physically healed in 2 weeks, it takes 4 weeks to fully heal and reach the final result. Within 4 weeks, the area will be fully healed inside too, and the result is finalised and the final colour will be revealed.
Step Seven
After 6 weeks, you will be invited to return to the studio for a follow up appointment offered for free as part of your initial payment. This session is around 1 hour long, and focuses on any areas that have potentially healed a bit lighter, or any minor tweaks you would like to make. More often, we will not rework the entire area, just the small areas that need a bit more work. This ensures you get the best long term result, and the most even fade out over time.
You will have a second healing process after this session, although it is often much easier and less intense than the first session. In some cases, you may not notice it doing much at all. In some cases, if we are both happy with the result, you may not need this second session.
Step Eight
Enjoy! Your new treatment should now last around 1 to 2 years before needing the colour refreshed.
For colour boosts, I usually recommend to come for treatment when the area is VISIBLY faded, or you need to put make up on EVERYDAY as the fade out is very noticeable. If unsure, anywhere within 1-2 years usually requires some form of work.
Colour boosts are £180 up to a year, £200 up to 18 months, £230 up to 2 years and £275 anytime after 2 years. Colour boosts are usually one treatment, and often do not need a follow up appointment after 6 weeks.